
Grilling season is here, and that means it’s time to get your grill ready for Summer. Your cooking session will be amazing if you know how to connect a propane tank to a grill properly.
In this blog post, I’ll walk you through the process of connecting your grill to a propane tank. You will get some tips on how to keep your grill running smoothly all season long. Stay tuned for more tips for the perfect backyard barbecue coming soon!
How To Connect Your Grill To A Propane Tank?
Knowing how to connect your grill to a propane tank is essential for any grilling enthusiast. The process is actually simple, but there are a few things you need to know before getting started. Here are the basic steps:
1. Turn Off The Propane Tank’s Valve.
This is the first and crucial step. You must turn off the propane tank’s valve before you begin any other steps. You should make sure that the area around the valve is clear and free of any flammable materials.
2. Disconnect The Hose From The Grill.
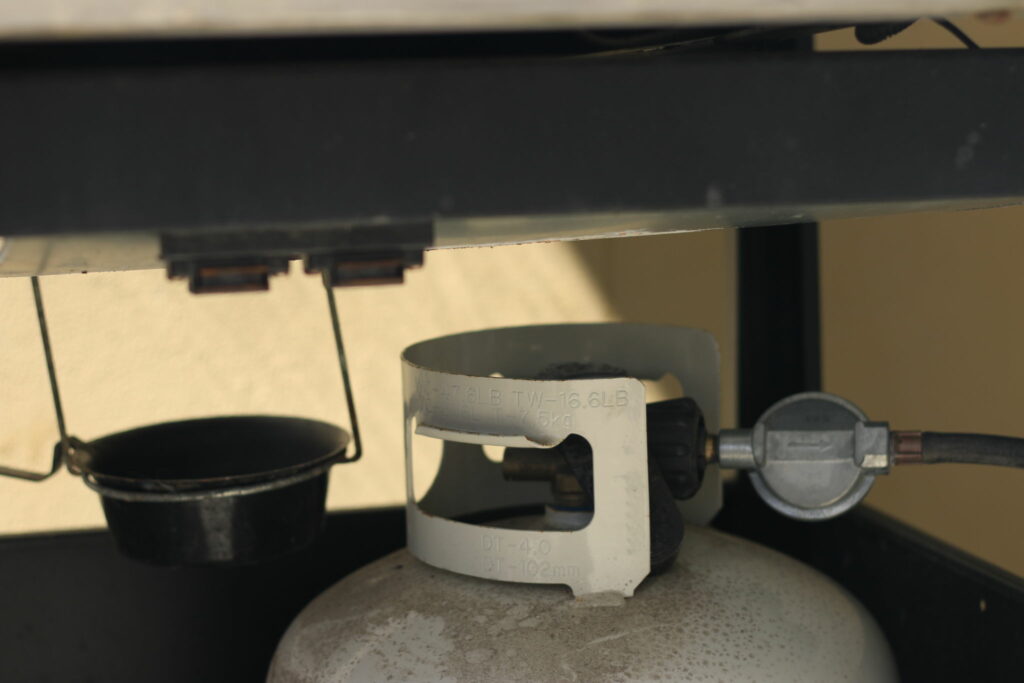
Use a wrench to loosen the coupling nut that connects the hose to the grill. Once the nut is loose, pull the hose off of the grill. If the hose is old or damaged, you may need to replace it. On most grills, the hose is attached to the regulator.
3. Connect The New Hose To The Grill.
Thread the new hose onto the grill’s connection point. Use a wrench to tighten the coupling nut until it is snug. For most grills, the hose is attached to the regulator. As you tighten the coupling nut, make sure that the hose is not kinked or damaged.
4. Relate The Other End Of The Hose To The Propane Tank.
Thread the hose onto the connection point on the propane tank. Ensure that you have a suitable seal between the hose and tank so that no gas can escape. Do not over-tighten the connection, as this can damage the hose.
5. Open The Valve On The Propane Tank.
Slowly turn on the propane tank’s valve. You should listen to a hissing noise as the gas starts to flow through the hose. Some grills have a valve that needs to be turned on as well.
6. Check For Leaks.
Once the valve is open, check the entire length of the hose for any leaks. If you see any bubbles or drips, turn off the valve immediately and tighten the connection point.
Have someone else hold a soapy water solution near the connection while you turn the valve on again. If there are still bubbles or drips, there is a leak in the system, and you will need to replace the hose.
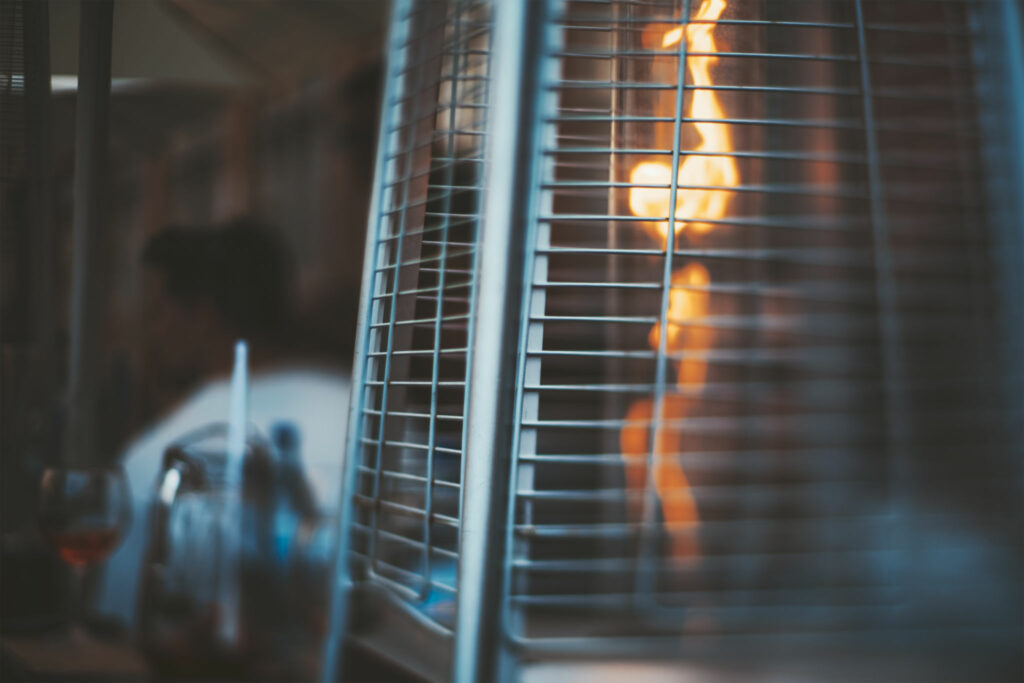
7. Turn On Your Grill.
Now that your grill is connected to the propane tank, you can turn it on and start grilling! Keep an eye on the propane tank’s gauge so that you know when it is time to refill.
8. Enjoy Your Meal!
It is the best part – sit back, relax, and enjoy your delicious grilled food! If any problems arise, be sure to consult your grill’s owner’s manual for troubleshooting tips.
How To Light A Propane Grill?
Lighting a propane grill is easy, but there are a few safety precautions you need to take first. Don’t be anxious; I will walk you through the process step-by-step.
1. Make Sure The Grill Is Turned Off.
It seems like a no-brainer, but make sure the grill is turned off before you start. Many grills have an ignition button or switch, so be sure to check that as well.
2. Open The Lid Of The Grill.
You’ll need to open the lid of the grill so that you can access the burner valves. When your grill has a side burner, you will need to open that lid as well.
3. Turn On The Gas.
Now it’s time to turn on the gas. There is usually a knob near the bottom of the grill that controls the flow of gas. Turn this knob to the “on” position. You should listen to a hissing noise as the gas starts to flow through the lines. What are the different types of grills? There are many but for some grills, there is a separate knob for the side burner.
4. Open The Burner Valves.
Once the gas is turned on, you can open the burner valves. These are located near the top of the grill. Be sure to open them slowly so that you don’t get a sudden burst of flame.
5. Utilize A Long Match Or Lighter To Light The Burners.
Now it’s time to light the grill. You can utilize a long match or a barbecue lighter for this step. Hold the flame close to the burner openings and wait for the gas to ignite. You may need to do this for each burner individually.
6. Close The Lid Of The Grill.
Once all of the burners are lit, you can close the lid of the grill. This will distribute the heat evenly. You can leave the lid open for a minute or two to let the grill heat up.
7. Let The Grill Preheat For 10-15 Minutes.
Now it’s time to let the grill preheat. Depending on how hot you want your grill, you’ll need to let it preheat for 10-15 minutes. Always keep an eye on the temperature meter so that you don’t overdo it.
And that’s it! Now you know how to light a propane grill. Just follow these simple steps, and you’ll be grilling like a pro in no time.
Tips For Grilling With A Propane Tank!
Many people think that grilling with a propane tank is difficult, but it’s quite easy! I am going to discuss some tips that will help you get the most out of your propane grill.
1. Make Sure The Grill Is Level.
This is important for two reasons. First, it will prevent the propane tank from tipping over. Second, it will ensure that the heat is distributed evenly across the grill. On most grills, there are legs that can be adjusted to level the grill.
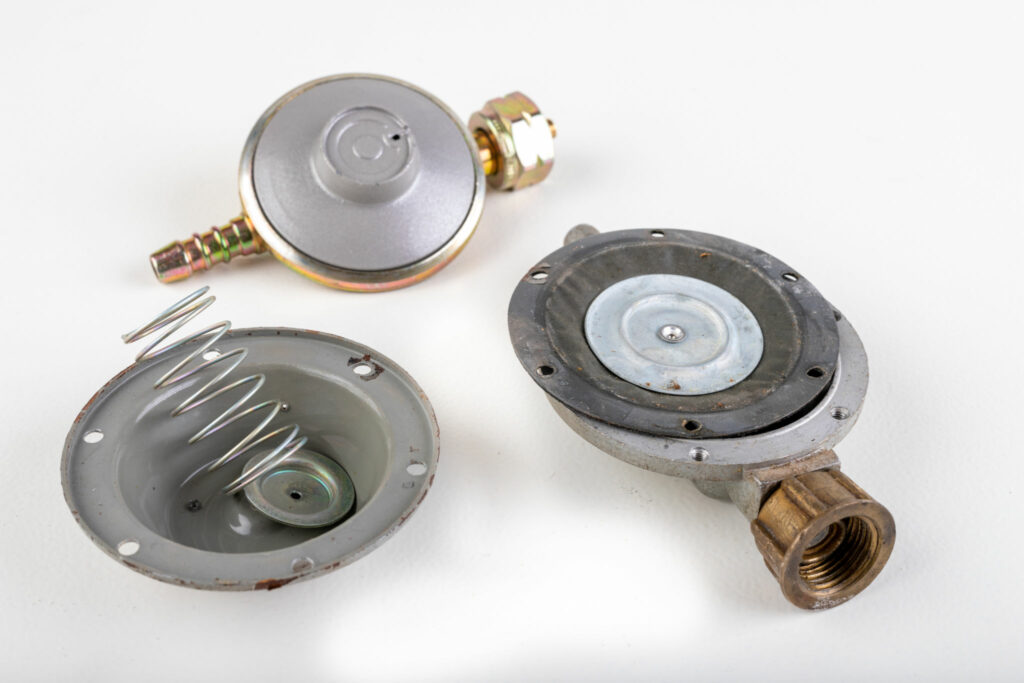
2. Check The Gas Regulator.
Before you start grilling, make sure that the gas regulator is in good working condition. This will prevent any accidents or explosions. Have a trained technician check the regulator every year to be safe.
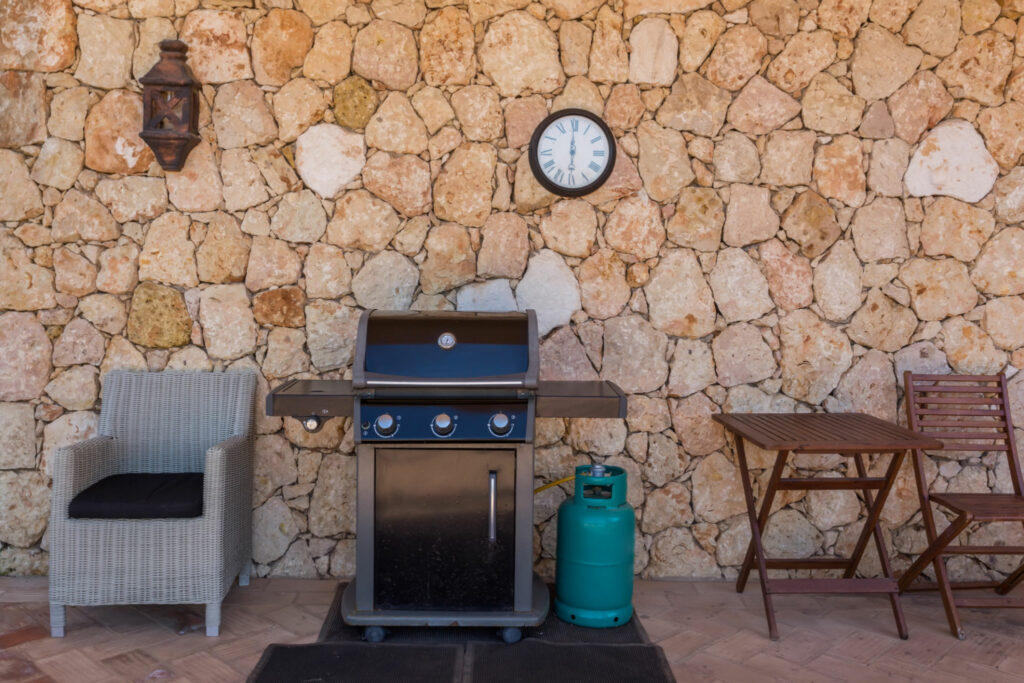
3. Connect The Propane Tank To The Grill Properly.
Be confirming to follow the instructions that came with your grill. If you’re not sure how to do this, ask a friend or neighbor for help. More importantly, make sure that all connections are tight and secure.
4. Open The Valves Slowly.
When you open the valves, do so slowly and carefully. It will prevent any sudden bursts of flame. You should also ensure that all of the vents are open.
5. Preheat The Grill Before Cooking.
Preheating the grill will always help to ensure that the food is cooked evenly. Most grills have a temperature gauge, so be sure to check that before cooking. As you preheat the grill, be sure to keep an eye on the flame.
6. Use The Right Tools.
Use the proper tools when cooking on a propane grill. This includes tongs, a spatula, and a brush for cleaning the grill. Many people also like to use a grill cover to keep the food from sticking.
7. Don’t Use Too Much Lighter Fluid.
If you use too vastly lighter fluid, it can cause an explosion. As an alternative, you can use a piece of charcoal to start the fire.
8. Grill In Well-Ventilated Areas Only.
This is important for safety reasons. Propane gas is very flammable, so be sure to grill in areas that are well ventilated. Doing so will prevent any accidents.
9. Keep An Eye On The Grill At All Times.
Don’t leave your grill unattended while it’s lit. This is a safety hazard. If you are just stepping away for a minute, be sure to turn off the grill.
10. Disconnect The Propane Tank When You’re Finished Grilling.
Disconnect the propane tank from the grill when you’re finished cooking. Some people like to leave the tank connected, but this is not recommended. This is always better to be safe than sorry.
Conclusion
If you are in the market for a new grill, it is important to know how to connect your grill to a propane tank. Today I have shown you how easy it is to do this by walking you through the process step-by-step.
Now that you know how to do it, there is no excuse not to get grilling! GrillCharms is the perfect place to find all of the grilling information, tools, and accessories that you need. Be sure to check us out today!

In fact, my grilling experience stems from even before that, when I used to watch my father grill outdoors. Some of my favorite memories growing up were surrounding the grill in the backyard, or a portable grill on the beach or in the park.
- The 9 Best BBQ Grills for Smoking Brisket - December 29, 2022
- 6 Mouth Watering Grilled Shrimp Recipes - September 16, 2022
- 6 Delicious Grilled Desserts - September 16, 2022