
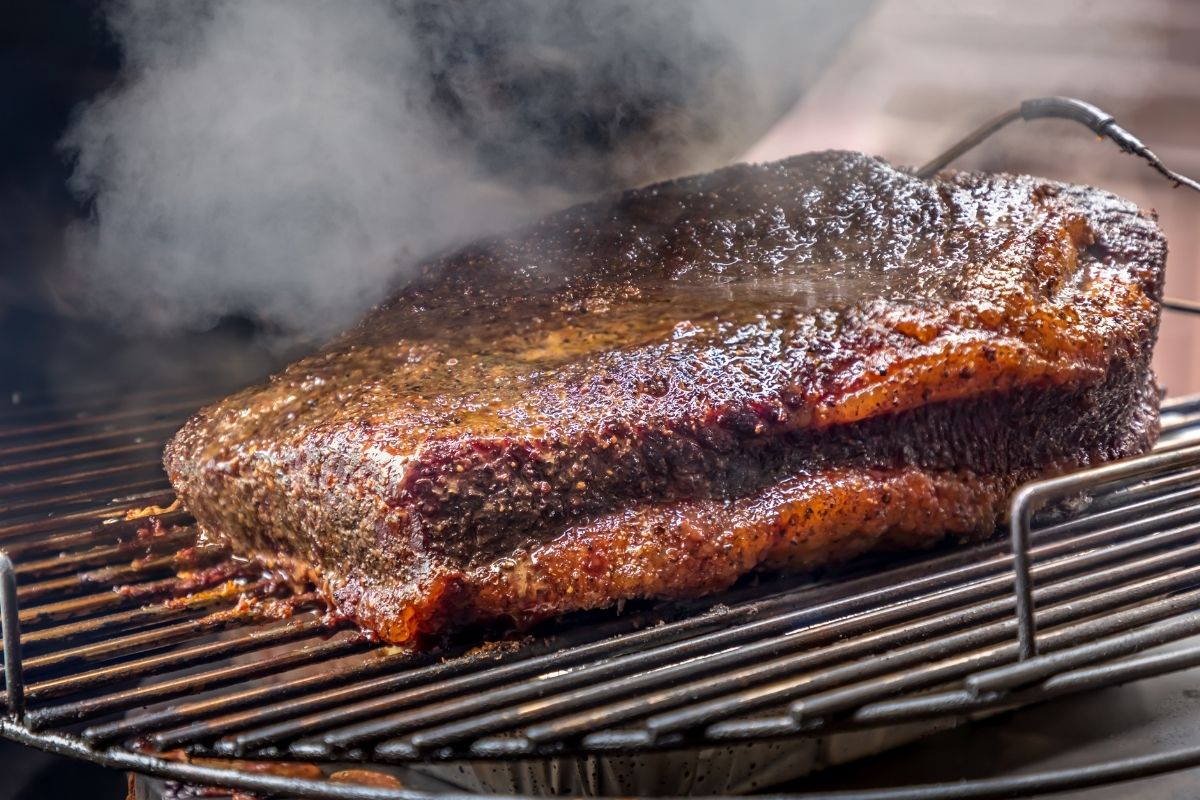
Briskets are delicious. If you’ve ever had a Texas brisket then you know what it feels like to die and go to heaven and then get resurrected so you can eat more brisket.
But when is the right time to wrap that baby? And what is wrapping a brisket? Wrapping a brisket is just one step of the length recipe to make the ultimate brisket.
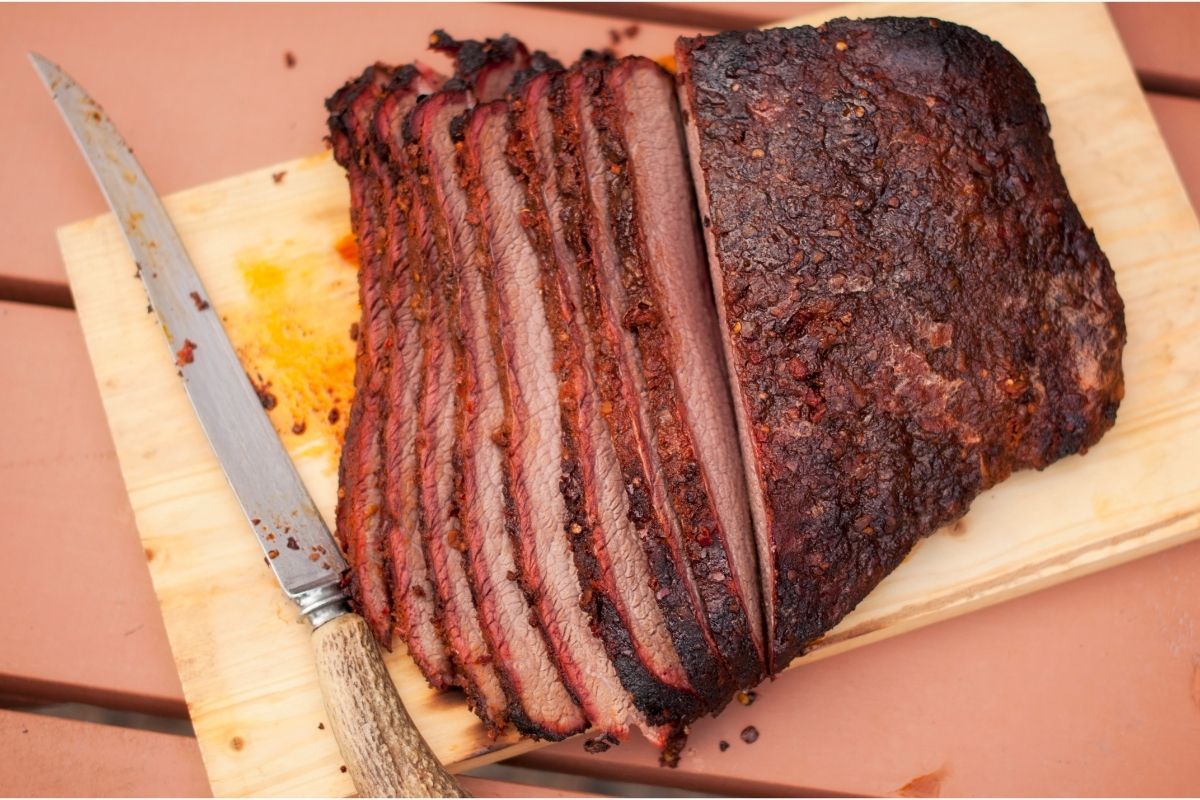
Briskets are usually cut into two pieces, the flat and the point. They are then tied together at the top and bottom to form a compact shape.
This allows them to cook evenly without drying out or burning. Briskets are typically sold whole, but they can also be cut into smaller portions.
When cooking a brisket, it is important to follow certain guidelines. For example, you should always let the meat rest after cooking.
This helps the meat absorb the juices from the pan and prevent it from drying out. It’s best to allow your brisket to sit for about 30 minutes before slicing.
But before any of that, let’s get into what wrapping your brisket is, and why it’s so important.
Wrapping A Brisket
Wrapping a brisket is when you cover the outside with foil and tie it up. You want to do this because it prevents the heat from escaping and keeps the moisture in. When you’re done, all you have to do is unwrap it and slice it.
Should I Wrap My Brisket?
Wrapping a brisket is an essential part of making the perfect brisket. You want to ensure that all sides of the meat are equally cooked. When properly wrapped, this will happen automatically.
However, if you don’t wrap your brisket correctly, you could end up with a dry, tough piece of meat.
There are many different ways to wrap a brisket. Some people prefer using butcher paper while others use aluminum foil. Either way works great. Just remember that if you’re going to use butcher paper, you’ll need to soak it first in water.
The most common method of wrapping a brisket is by folding the sides over on themselves and tying them off. Then you fold the ends over as well.
Another popular way to wrap a brisket is to roll it up tightly. This makes sure that all sides are covered and that there aren’t any air pockets inside.
You can even use a combination of both methods. For example, you might start by rolling the brisket up tight and then tuck the ends under.
When Should I Wrap My Brisket?
This depends on how thick your brisket is. In general, you want to cook your brisket until the internal temperature reaches 165 degrees F (74 C). Wrap your brisket when it reaches 165 degrees.
If you’re new to cooking, you may not know exactly how long it takes to reach this temperature. That’s okay! All you really need to know is whether or not the internal temperature has reached 165 degrees F (74C) by the time you remove the meat from the oven.
To check the temperature, simply insert an instant-read thermometer into the center of the meat. Make sure to leave the probe in place for at least 5 seconds before taking the reading.
Once you’ve determined that your meat is ready, take it out of the oven and let it rest for 10 to 15 minutes. During this resting period, the meat will continue to cook. This ensures that all parts of the brisket are cooked to perfection.
After resting, you can slice the meat and serve it immediately. If you’d like, you can also reheat the slices later.
Some people choose to use aluminum foil instead of butcher paper. Others prefer to use butcher paper because it’s easier to work with. Whatever method you decide to use, just make sure that you keep everything clean.
If you’re working with aluminum foil, make sure to wash it thoroughly beforehand. Also, be careful not to touch the foil directly to the surface of the stove. Doing so could cause the metal to get hot enough to burn you.
When wrapping your brisket, try to avoid touching the meat itself. Instead, use tongs or kitchen towels to grab the edges of the foil.
The Texas Crutch
The Texas crutch is the name of a wrapping method. It involves wrapping the brisket in two layers of foil. It was invented at the famous Texan restaurant Franklin Barbecue and since then has been adopted as the go-to method for wrapping brisket.
The top layer should be placed around the outside edge of the meat. The bottom layer should go underneath the meat. Once you have these two pieces of foil laid out, you can begin wrapping the brisket.
Start by folding the top layer of foil back over itself. Next, fold the bottom layer of foil over the top one. Continue doing this until you’ve folded the entire thing up.
Then, starting at the top left corner of the brisket, carefully bring the right side of the foil over the left side. Bring the bottom layer of foil down next. Finally, repeat the process on the other side.
Now, you’re almost done. Fold the corners of the foil inward toward each other. Then, pull them together tightly.
Now, you’ll wrap the last piece of foil around the top of the brisket. Be sure to do this securely.
Finally, cut off any excess foil. Then, trim away any extra pieces of fat.
What Are The Benefits Of Using The Texas Crutch Wrapping Technique?
There are several benefits to using the Texas Crutch wrapping technique. One of the biggest advantages is that it allows you to cook your brisket evenly.
If you don’t use the Texas Crutch, there’s a good chance that some areas of the brisket won’t cook properly. That means they may become dry and tough.
Another advantage is that it keeps the heat inside the brisket. In fact, if you were to remove the foil from the brisket after cooking, you would find that the meat had retained its juices.
The Stall
A “stall” is a term used to describe the point where the temperature of the meat stops rising. It usually happens between 140 and 160 degrees Fahrenheit. There are many reasons why the stall happens. Some of those reasons include:
The meat wasn’t sliced thin enough.
The meat wasn’t trimmed properly.
The meat didn’t spend enough time resting before being put into the smoker.
To prevent stalls, you need to follow certain guidelines. For example, you should always slice your meat very thinly. You should trim away as much fat as possible. And you should always give your meat plenty of time to rest before going into the smoker.
Using the Texas crutch is a great way to prevent a stall. By wrapping the brisket in foil, you keep the heat inside the meat. This prevents the meat from drying out too quickly.
Wrapped Brisket Tips
Here are some tips for wrapping your brisket.
You don’t need to use special tools to wrap your brisket. However, if you have access to a pair of scissors, you can use those to help you trim away any extra pieces.
Also, make sure to leave plenty of space between the wrapped brisket and the sides of the pan. This allows the heat to circulate more evenly throughout the meat.
Wrapping Your Brisket In Parchment Paper
Like we said earlier, wrapping your brisket is a great way to help it cook. You can wrap your brisket in different materials that will each give a different result.
Parchment paper is probably the easiest option. Simply fold up a sheet of parchment paper until it fits snugly around the brisket. Make sure to leave plenty of room around the edges so that the heat can circulate freely.
Parchment paper works well because it’s cellulose-based, and has been treated with silicone. This gives it non-stick properties. This is the thinnest wrapping material you could use.
Parchment paper is effective because it’s not as thick as foil. This makes it easier to work with. Also, since it’s made of cellulose, it doesn’t impart an unpleasant taste or smell to the meat.
Parchment paper is a lot more breathable than foil and can still withstand high temperatures. However, one of its main drawbacks is that it tears easily.
Wrapping Your Brisket In Foil
Wrapping your brisket in foil is a good way to combat the issue of parchment paper tearing. Foil is a great wrap material because of its durability and heat retention.
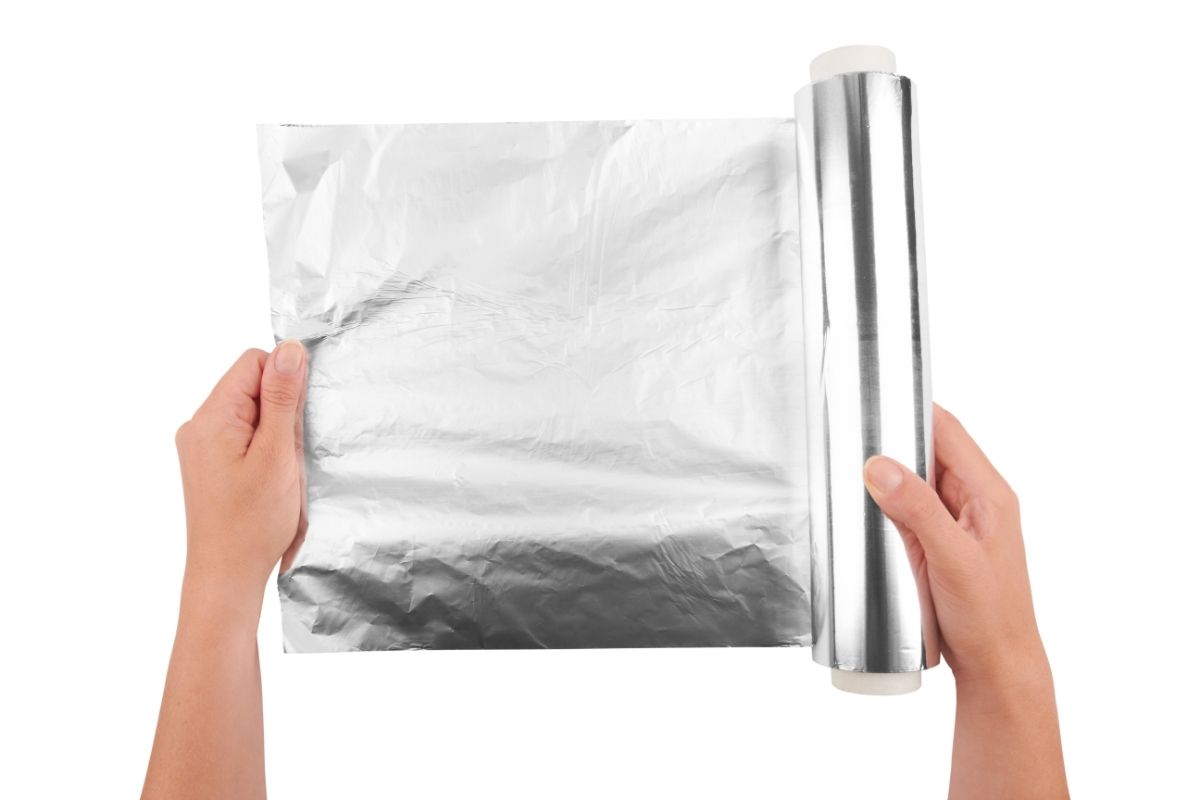
Because foil is so malleable it’s a lot easier to wrap it around the shape of your brisket. And because foil is great at blocking smoke, your brisket is more likely to have a beefy taste over a smokey one.
Because foil is great at conducting heat, it also means your brisket will cook a lot faster. Since it’s wrapped, the foil directs the current of heat all around the brisket and results in a more even cook through the meat.
Plus, foil is a lot easier to come by than parchment paper and a lot cheaper too. To wrap your brisket in foil using the texas crutch simply take two sheets of aluminum foil and place them on top of each other.
Then lay your brisket on top of this double layer of foil. Fold the bottom edge up towards the center. Then fold the top edge down towards the center. Finally, roll the brisket up tightly like a burrito.
When rolling your brisket, try to get it tight but not too tight that it’ll stick to the meat. It’s important to do this because it helps to retain moisture.
Once you’ve rolled your brisket up, cut off any excess foil. Now all you have to do is stick your wrapped brisket into the oven.
Wrapping your brisket in foil is a bit easier than wrapping it in parchment paper. Once you get the hang of it though, it becomes second nature. So once you wrap your brisket for the first time, you’re going to want to practice making it again.
Wrapping Your Brisket In Butcher Paper
Butcher paper is similar to parchment paper, but they have their differences. Butcher paper is the preferred method of serious barbecue chefs.
Specifically pink butcher paper, which is also called “peach paper”. Peach paper has very similar properties to foil which is why it’s a popular alternative.
Peach paper is light enough to allow brisket to breathe but is still able to retain just the right amount of moisture inside. Peach paper is treated so it won’t break apart and disintegrate when wet.
To wrap your brisket in butcher paper, simply follow these steps.
1. Use two sheets of peach paper (pink butcher paper). These should be at least 4 times as long, as wide as the brisket is.
2. Lay out your brisket on the sheet of paper. If you are using a whole brisket, make sure to leave some room between the edges of your brisket. This allows air to circulate and prevents the edges from curling up.
3. Place another piece of paper on top of your brisket. Make sure to cover the entire surface area of your brisket.
4. Fold the bottom edge of the paper up towards the middle. Then fold the top end of the paper down towards the middle.
5. Roll your brisket up tightly like you would if you were wrapping it in foil.
6. Cut off any extra paper.
7. Stick your wrapped brisket into an oven set to 350°F
8. Cook your brisket until done.
Holding Your Brisket
Holding your brisket is another kind of wrapping your brisket, but it’s done once the cooking has finished. Holding your brisket after it’s cooked isn’t necessary if you’re just looking to keep it warm.
But if you want to serve your brisket right out of the oven, then holding it is a must.
To hold your brisket, simply remove it from the oven and let it sit for about 10 minutes before slicing. After this time, the internal temperature should be between 190°F – 200°F.
If you don’t plan on serving your brisket immediately, you can refrigerate it for up to three days.
Holding your brisket involves then wrapping it in foil and a towel. First, unwrap your brisket and pat it dry. Next, take two pieces of aluminum foil and place one piece on top of the other. Lay your brisket on top, and then cover with the second piece of foil.
Then wrap the whole thing up in a kitchen towel. Make sure the towel is big enough to fit snugly around the entire package.
Once you’ve wrapped your brisket in foil and a towel, you’re ready to serve it. Holding your brisket is beneficial because it allows the meat to redistribute its juices. By doing this, the meat ends up being juicier and more tender.
The reason why we use a kitchen towel here is that it’s easy to find and cheap. Plus, a kitchen towel is pretty much indestructible. It won’t tear or rip easily, which makes it perfect for wrapping your brisket.
Faux Cambro
Holding a brisket is also sometimes called the faux Cambro technique. Faux Cambro is similar to the above holding method but varies a little.
To use the faux Cambro method simply follow these steps:
1. Fill a large cooler with 3 gallons of hot water. Close the lid.
2. Let the water warm up the cooler for 30 minutes then pour it out. Aim to do this as the brisket is approaching ready, so the cooler is warm for the meat.
3. Put the brisket in the cooler, seam side down. Make sure the brisket is wrapped in foil and towels.
4. Cover the cooler with plastic wrap.
5. Keep the brisket in the cooler until it’s ready to be served.
The faux Cambro method helps lock in all the juice and flavor in the brisket. If you don’t plan on serving it right away, then this method is excellent for keeping your brisket in prime condition.
According to Aaron Franklin, barbecue god, you should aim to hold your brisket for about 2-4 hours for the best possible taste.
Can I Add Liquid When I Wrap My Brisket?
When cooking any kind of meat, sometimes it’s a good idea to add liquid to help it cook and add more flavor. Can you do the same with a brisket?
The answer is yes, you can. It’s not a requirement but you can add liquid when wrapping your brisket. This will help it stay moist and keep it juicy. Some liquids you can add are beer, cider, beef stock, water, broth, vinegar, and any other meat enhancing flavors.
Just remember not to overdo it. It’s a brisket, not the Titanic, don’t drown it.
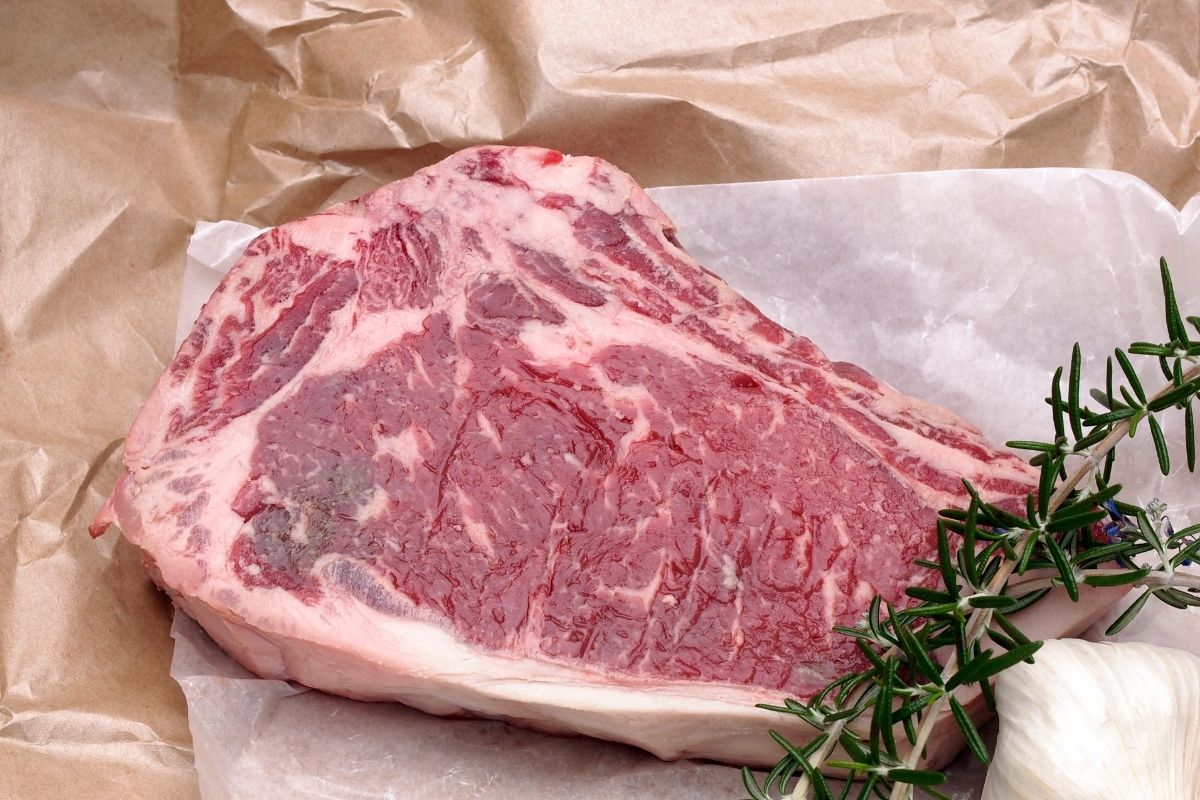
Wrapping The Point Vs. The Flat
The brisket is made up of two different muscles. One is called the point and one is called the flat. Because they’re two separate muscles, people often think that they should be treated differently when wrapped
This isn’t the case. Some people choose to separate the flat from the point, but this is not necessary. You can just treat them both like one muscle. Just make sure to cut off excess fat before wrapping.
You’ll notice that most recipes call for wrapping the flat first. This is because the flat has more connective tissue than the point. Connective tissue holds the meat together and prevents it from falling apart during grilling. So, if you want to save time, start with the flat.
Final Thoughts
Wrapping your brisket is incredibly important. Not only does it ensure that it stays fresh longer, but it also prevents it from drying out.
Plus, it adds flavor, color, and texture. So, whether you choose to wrap it using butcher paper, parchment paper, or waxed paper, it’s definitely worth the effort.
The Texas crutch is probably one of the easiest ways to wrap your brisket. The Texas Crutch is an old fashioned term for wrapping meat. Today, we still use the same basic principles behind the Texas crutch.
However, nowadays we wrap it in butcher paper or foil. It was invented in the Franklin Barbecue restaurants, so you know it’s a certified tastebud tickling method. In fact, the Texas Crutch is so easy that even beginners can master it.
Always remember not to wrap your brisket too tightly when wrapping it. This is because it could stick to the meat. Having your wrap stick to your meat is the quickest way to ruin a brisket.
Remember all that and you might just make the juiciest brisket on the block

In fact, my grilling experience stems from even before that, when I used to watch my father grill outdoors. Some of my favorite memories growing up were surrounding the grill in the backyard, or a portable grill on the beach or in the park.
- The 9 Best BBQ Grills for Smoking Brisket - December 29, 2022
- 6 Mouth Watering Grilled Shrimp Recipes - September 16, 2022
- 6 Delicious Grilled Desserts - September 16, 2022
